In the today’s project, APG Jamie shows us some pockets and tags from my products in the shop. Let’s see what she is telling us about them.
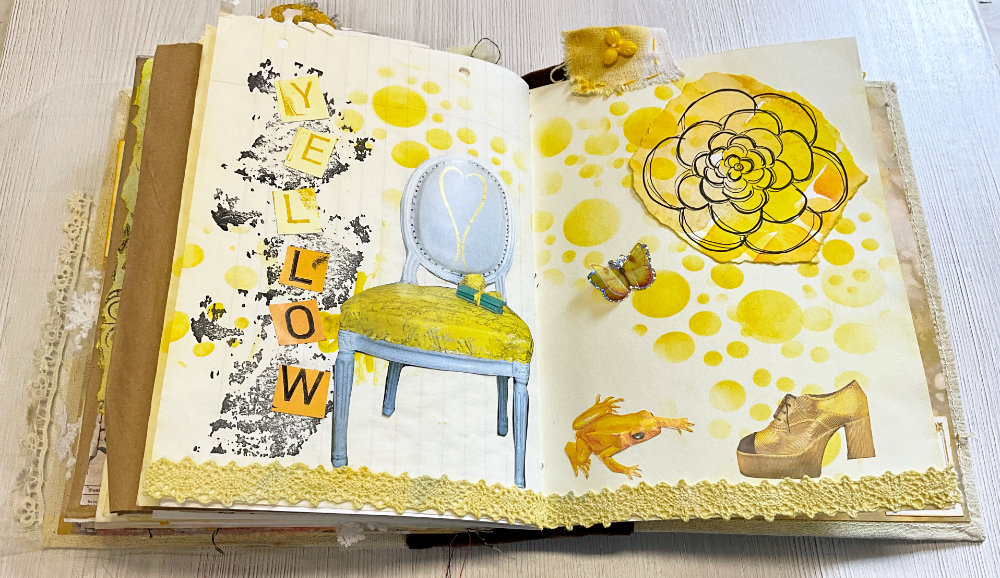
For this portion of the project, I used papers from the Vintage Love digitals, Butterfly stencil with mask and Alpha stencil, and Washi stickers, Distress ink in Scorched Timber to ink around most if not all the pieces, for the pockets.
The pockets are of similar size but not exact due the fact that the edges where the glue was applied may not have had a consistent glue line. So, best fit is a max of 4 ¾” x 4 ¾” Now because I printed single sided on copy weight paper, I wanted the pocket inserts to be a bit sturdier, so I used glue stick to adhere some of them back-to-back. I also did this for some of the scraps.

For the first side loading pocket, I made a rectangle (7 ¾” x 4 ¾”) of my now double-sided paper and folded over a 3” strip as a sideways flap. On the outside back, I used gloss gel through the detailed portion of the butterfly stencil and applied kaleidoscope embossing powder while it was wet. I briefly let it dry, then used the heat gun to melt the powder and dry the gel. The effect was less than I what I hoped for.
I then proceeded on to decorate the inside using a single cute girl washi sticker and loved it! I tend to add glue to washi stickers and tape, to ensure that it holds, because in general washi is a removable non-permanent tape. On the front outside of the flap, I arranged torn tea bag, a bit of black feather, a 3D flower sticker and a label from the Tim Holz curator ephemera pack.
I added a tab to the butterfly side of the folded edge. Later I came back to try to enhance the butterfly. I lined up the stencil and added a dark colored wax on top of the dried gel. That didn’t add much, so then I got out some white gesso. I used the full butterfly section of the stencil and a makeup sponge to lightly dab on the gesso. I ended up with a light translucent hint of the butterfly, which made me happy. Photo 1

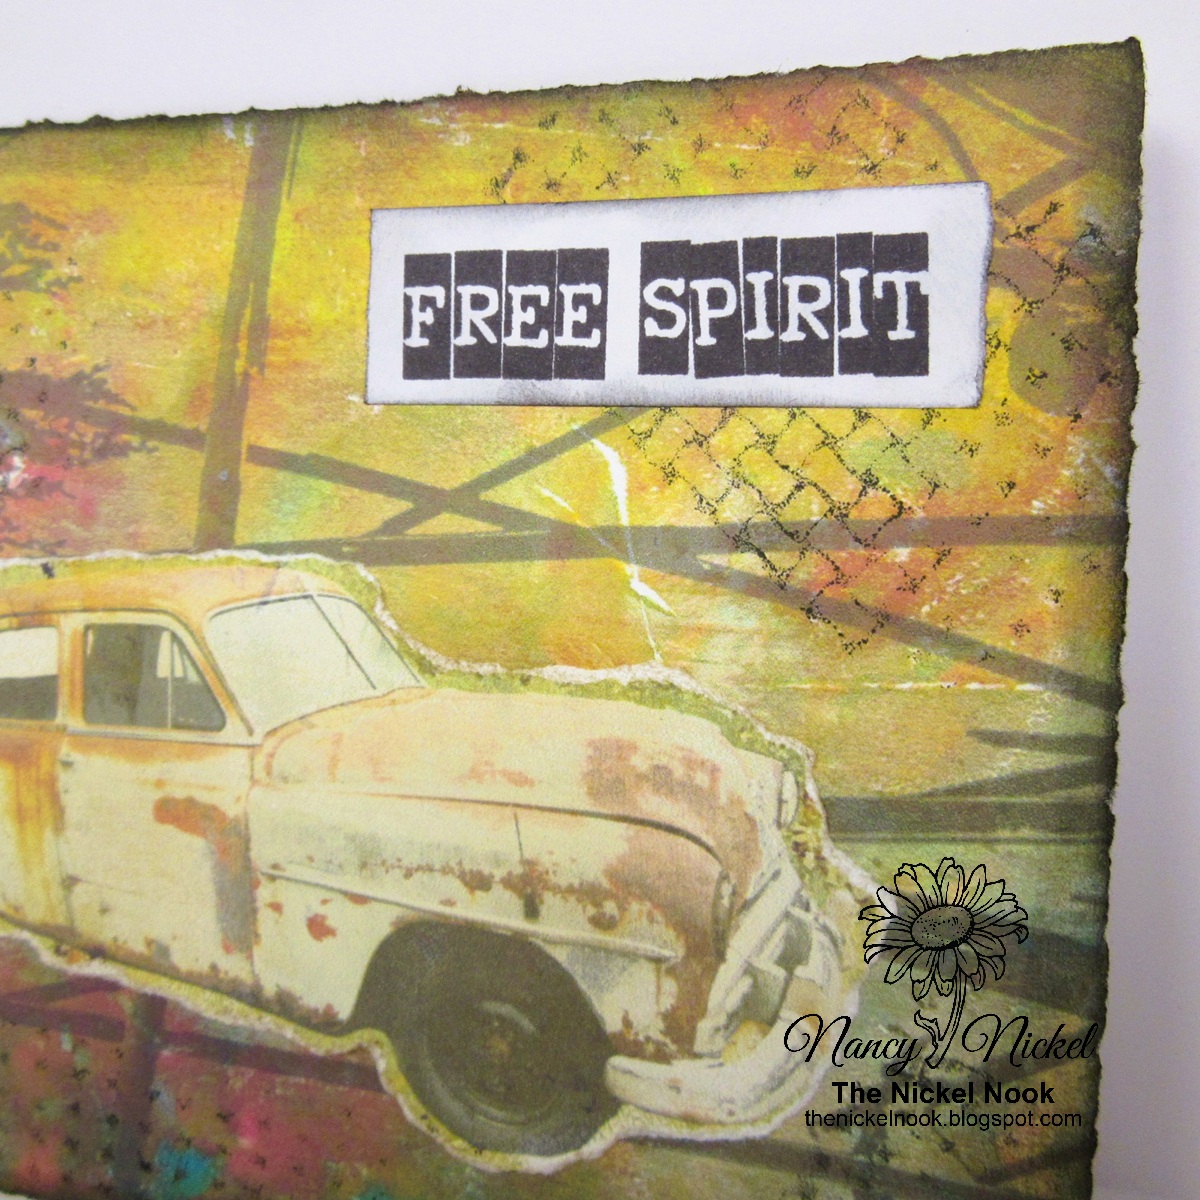
The next pocket is a top loading one, using the postcard image, which has the front and back to the postcard printed side by side. After trimming I folded it in half and used the glue stick to stick it together. I trimmed the length to 4 ¾”, using a deckle-edged trimmer. I then built a cluster of sorts on the front side of the image using Tim Holtz curator ephemera bits.
I used a makeup brush and alpha stencil on the back with distress ink lost shadow and second-generation scorched timber ink. To get a second generation you brush the brush across the ink pad, lightly brush it on scratch paper, then brush through the stencil. This will give you the color without it being real dark. I punched a hole at the top, added a hole reinforcer and a bit of twine. Photo 2

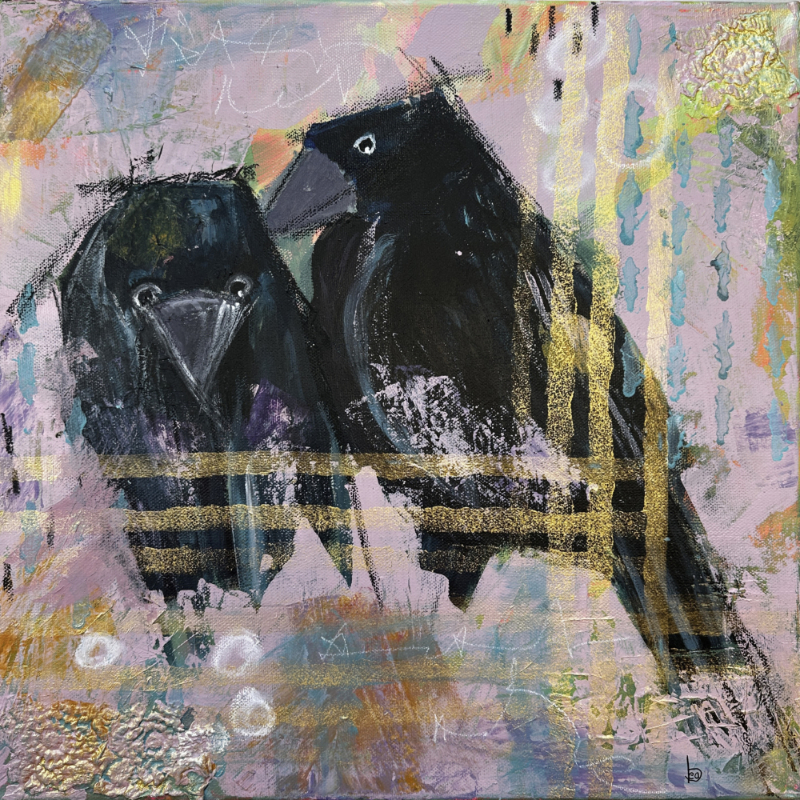
Pocket number 3, side loading. With a strip (4 ¾” x 7”) I folded over about 3” and glued the two narrow flap sides to make a pocket, added a tab and a scrap of torn paper from the tag in pocket number 4. I wanted to use another washi sticker face, but as you know they are a little translucent, so to keep the darker color from showing through the washi, I put it on a scrap of white cardstock, cut it out and glued that to the pocket. I left the back plain. You don’t have to decorate everything, besides maybe I’ll add something to it later. Photo 3

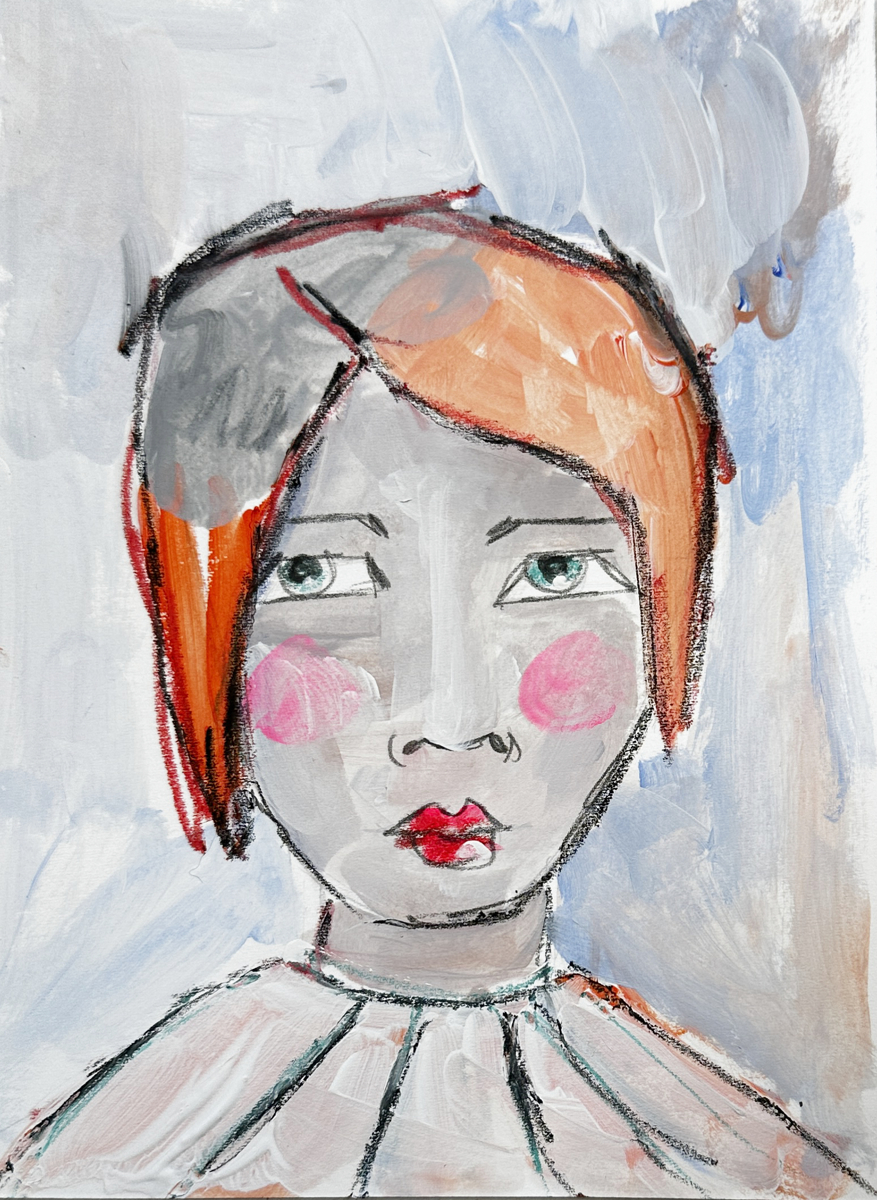
Pocket number 4, top loading. I took 2 single copy weight papers and tore them at the same time to get a similar edge. Used glue stick on the edge by slightly overlapping them After inking, then added another printed copy weight page to the back, as before. I added a piece of flora ephemera from the Tim Holtz pallet pack leaving the left edges free to make a tuck spot.
I then proceeded to add the kissing couple, in a smaller size as a pocket, and ended with adding the telephone image on top. Making a lovely layered effect. For the back I took 3 small images (you can print the digitals in various sizes depending on your computer and printer settings) slightly overlapping the edge to make a line of images which then were glued on one side to form a tuck spot. I added a hole, reinforcer and twine. Photo 4 and 5


For the final pocket, side loading. I made a note pad. Using a piece of the double-sided paper as the base, I trimmed some of the single sided prints slightly smaller, stacked them on top and stapled to make the note pad. Using a scrap (1 ½” x 3 ¾”) I folded in half-length wise and glued over the top of the pad for a clean finish. I added a tab, a label and one of the glitter girls for the front image. Photo 6 & 7


There is plenty of space to further embellish and add journaling cards or ephemera in all the pockets, should one wish to do so. The related video for this portion the project may be found here https://youtu.be/dnVtGKPIYYU.
Please stay tuned for the next portion of this project and until then Happy Artin Y’all
APG Jamie
Mixed Media Artist